I am so excited about this transformation!
I still can't believe that I even snagged some faux bamboo chairs to makeover! You all know how obsessed I am about faux bamboo! So I was completely shocked to find a table and chairs set for sale on Craigslist this past Memorial Day weekend, you can read all about that adventure
here!
I mean, I have posted about my love for the bamboo look more times that I can even count!
After the ( crazy-
big....I mean
really huge ) shock of finding them wore off, I readily jumped into planning their transformation into a glamorous Hollywood Regency set!
I rather foolishly assumed that I would have them finished by the end of the long Memorial Day weekend, it's pretty typical of me to
underestimate the amount of work it will take to finish something. Boy did I underestimate it! The day I estimated turned into a week long, working on it just about every day project! I guess I should tell you that for the time being ( since our place is pretty small...all of 600 sq ft ) that I decided to only keep two of the chairs in my apartment, the table and the remaining chair made the trip over to my mom's to be stored.
The day after I got them , I got up early and gave my lovelies a good once over, just to see how best to plan my
attack transformation! As much as I wanted to start painting right away, I really needed to do some prep work on these babies!
Both of my remaining chairs were just a wee bit wobbly, while I knew that they were sturdy, I didn't want guests to think that their bums might fall to the floor if they sat in one! So that was the first issue to be fixed! After a little google-ing, I felt confident that I could fix this little problem.
Here's what I did!
I read online that to fix the wobble I would need some wood glue and some rope. The rope I used to hold everything in place nice and tight while it dried. So out came the Gorilla Glue and I got to work! Now if you can pull the spindles completely out, it's best to clean off all the old glue before re-gluing and tying tight with the rope. That was a great tip for the spindles on the back part of the chair! Neither one of the loose pieces moves even the littlest bit now! yay!
The rope was a great tip, I may have attempted to glue everything and just let it dry.....actually that's what I started to do, but realized I should do a little research before I began! So glad I did! Neither one of my chairs have any wobble left in them!
There is some sort of belt like clamp that professional wood workers use, but the rope was what I had on hand so I wanted to give that a try first before I ran out and bought something I may only use once!
It worked beautifully, so I didn't have to spend the money for the clamp!
Now....it was time ....to.....wait.......and wait.....annnndddd waaaaiiittttt..........
This part was so hard, because I was super eager to get some glossy white paint on them!
But I knew I would regret it if I didn't properly prep my chairs.
Now, I read several websites that told me vastly different wait times, ranging from as little as four hours to as much as forty eight hours before sanding and painting them!
I figured I'd wait till the next day before I started messing with them.....so hard!
I guess it was roughly twenty-four hours or so.
I'm soooooo impatient, I just wanted to get to the good stuff!
I got up the next morning thinking " at last! I get to paint!!! " yes, lots of exclamation points as I told myself that!
ohhhhhh I was so naive....I had gotten WAY ahead of myself again! I still needed to sand, and do you know how hard it is to sand something with so MANY spindles!! Every time I thought I was done, I turned the chairs around and found whole sections I completely missed! At this point I really thought I heard the universe laughing at me.....seriously......but it also could have been my delirium from working outside in temps nearing the 100's!
With all the hand sanding I still had some parts were the finish would not come off!
I know the photo is a little fuzzy, but you can see a bit of the cracked gunky finish that was being super stubborn! Josh thought it looked like it may have somehow gotten too close to a heat source! Poor things! I will take much better care of my faux bamboo babies!
I couldn't pull out a hand sander because that was too big, so I pulled out the next best thing!
My Dremel!
I put on a little sanding bit, and went to town on those spots! If you are thinking about using a dremel to sand something off a piece of furniture you're refinishing, be careful! Normally I would not have pulled this out for furniture, because it's very easy to go overboard and leave giant gouge marks on the wood!
Since the spindles were so small and relatively close together I really couldn't figure out another way to get the wonky finish off!
I have a confession to make, I normally skip the whole safety eye wear thing! I know, I know! I really should wear them more! But even I had to pull them out, after a few tiny sharp pieces of the crazy finish flew at my face while using my Dremel! It hurt too! That stuff was sharp! I promise I will wear them from now on!
I also added a face mask after breathing in some dusty wood particles.....sigh, what I do for my love of refinishing.....
After sanding everything down and getting all the wonky cracked finish off, I wiped both chairs down with a few tacky cloths. Don't skip this step! You want to make sure your paint will adhere properly!!
Now for the fun stuff!!
I pulled out some Rustoleum spray paint primer and went to town covering my recently stripped chairs.
I used about three cans between the two of them.
I'm sure you remember these pictures from a post last week!
After priming and sanding, I once again wiped everything down with a tacky cloth.
I actually did this in between each and every coat of paint I applied!!
so......
paint.....
dry.....
sand....
wipe.....
If you do this each time you add a coat of paint, you will achieve a nice even finish! This is especially important if you are trying to achieve a smooth ultra-glossy finish!
Now I was ready to start painting!
I really wanted them to have a super glossy white Jonathan Adler-like finish, so I pulled out some.......
Love this stuff! It always comes out so nice and even!
Just so you get the full affect of my fabulous Faux Bamboo Chair Makeover, I want share with you how they looked in their "I'm for sale" photo on craigslist.
.....and NOW!
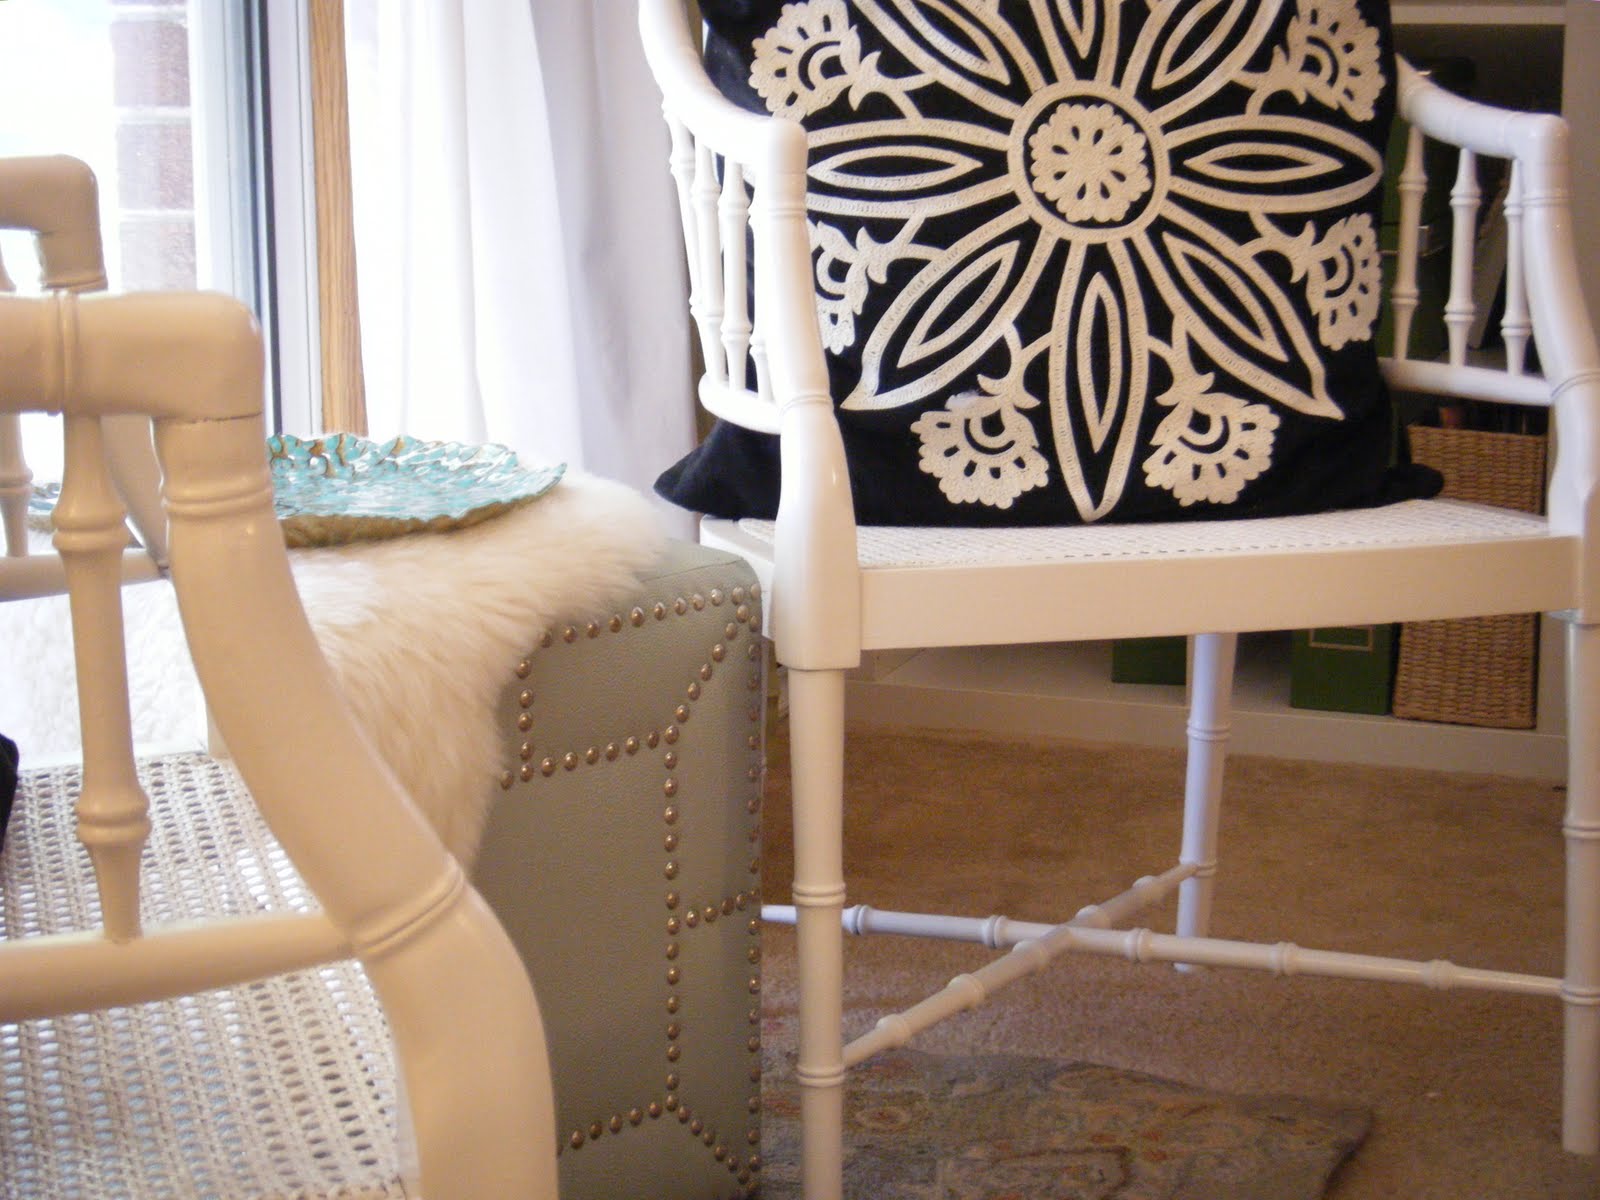
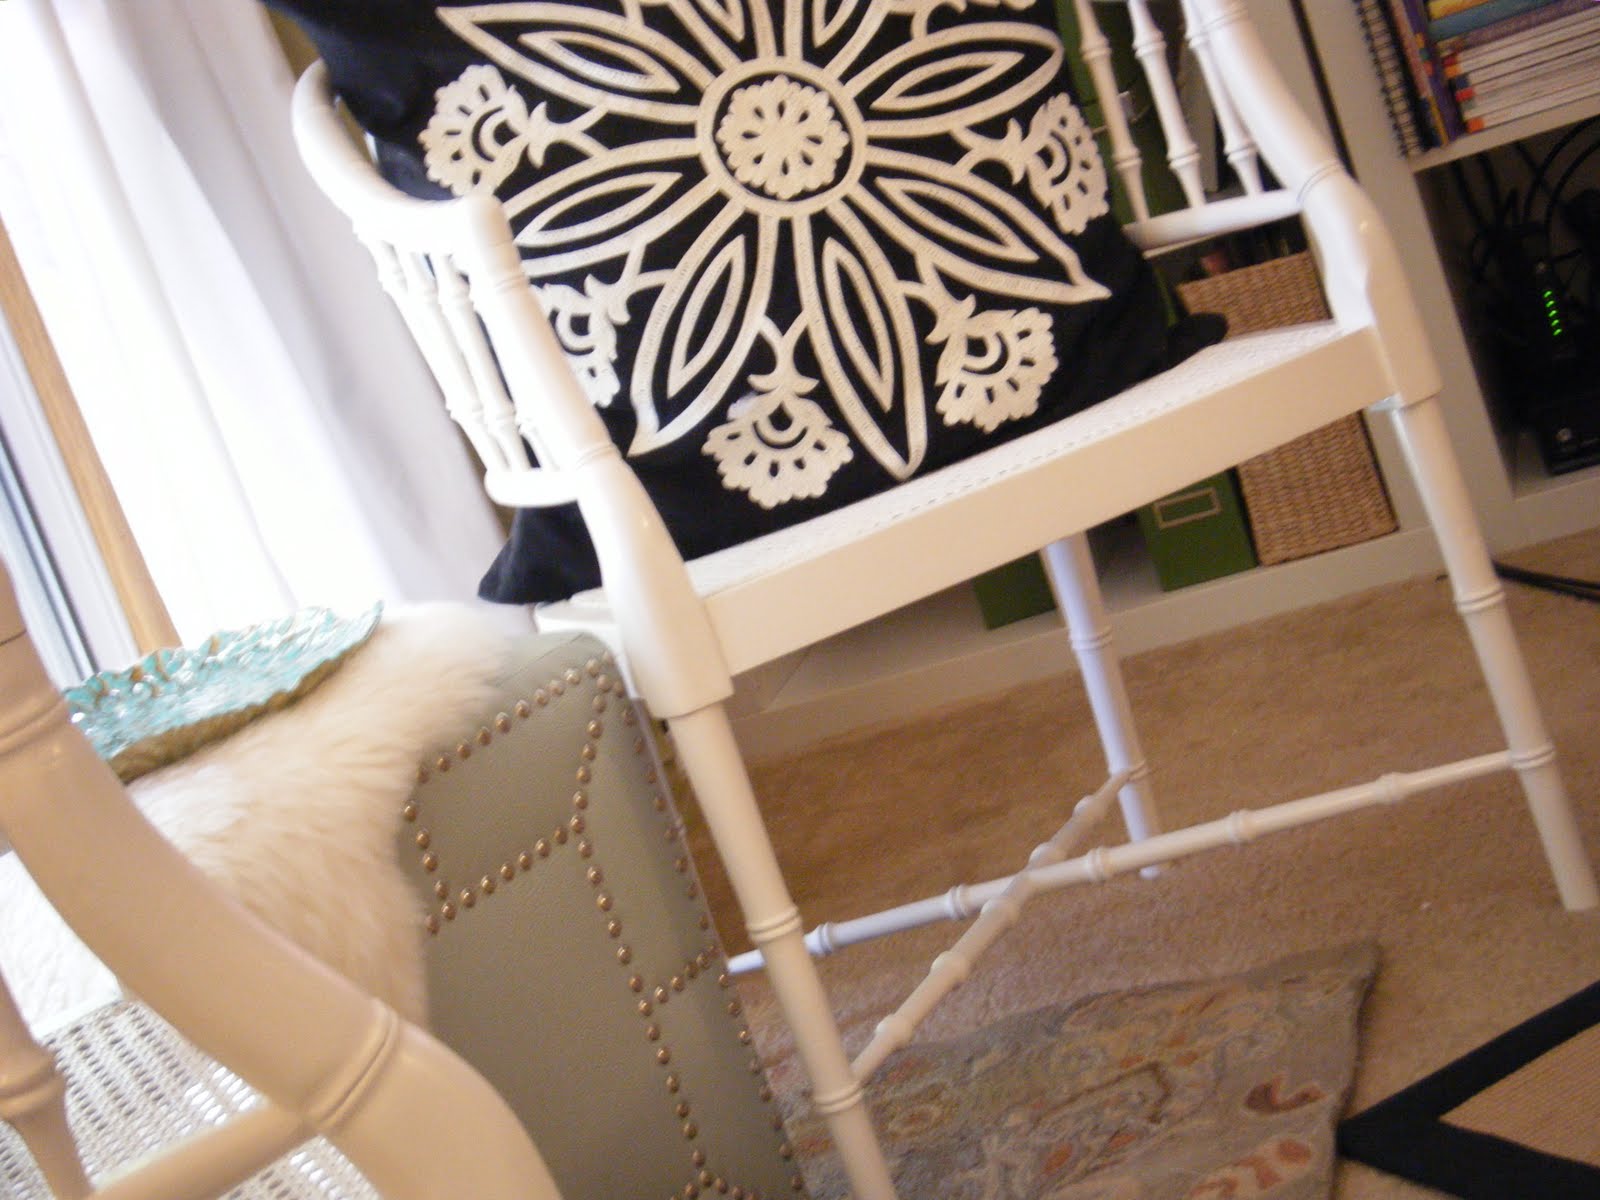
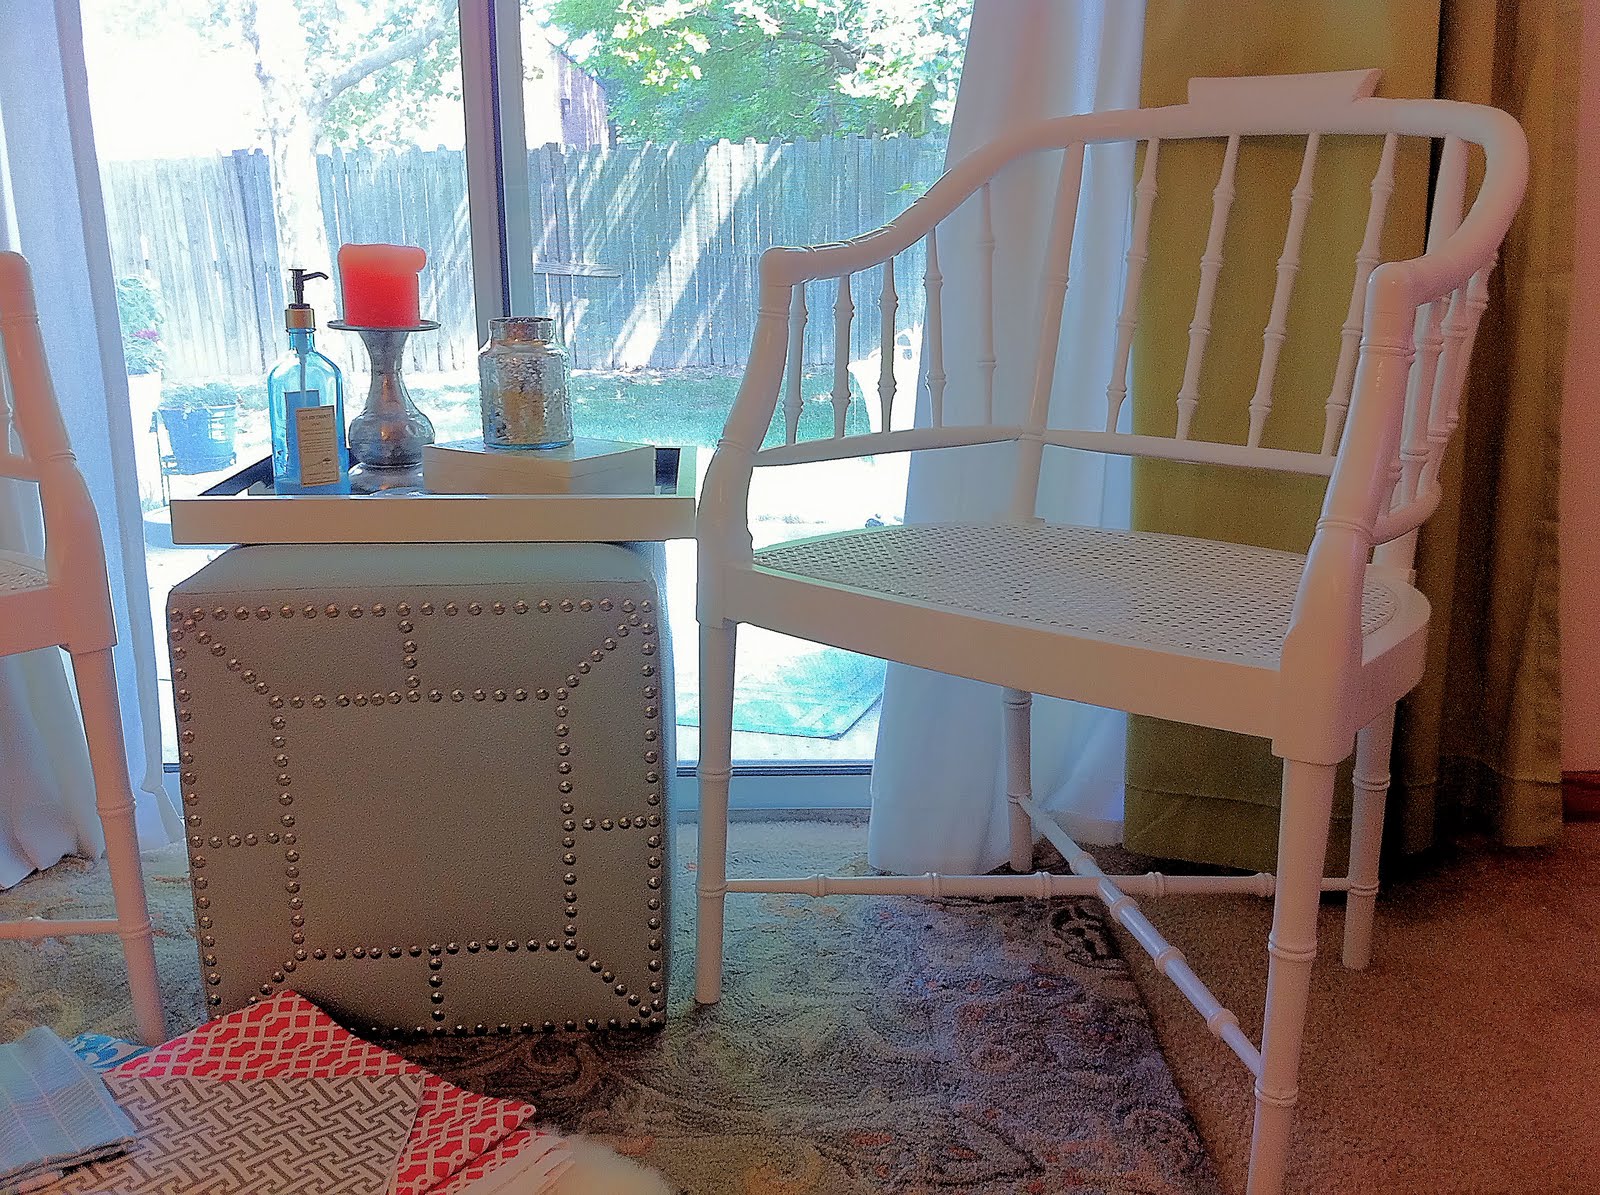
Here's how my lovely Hollywood-Regency-Jonathan-Adler-like chairs look now!!
Excuse the state of the rest of the room, I was in the process of rearranging every thing in the room!
Oh yeah, a little HGTV going on in the background!
I LOVE how they turned out!!
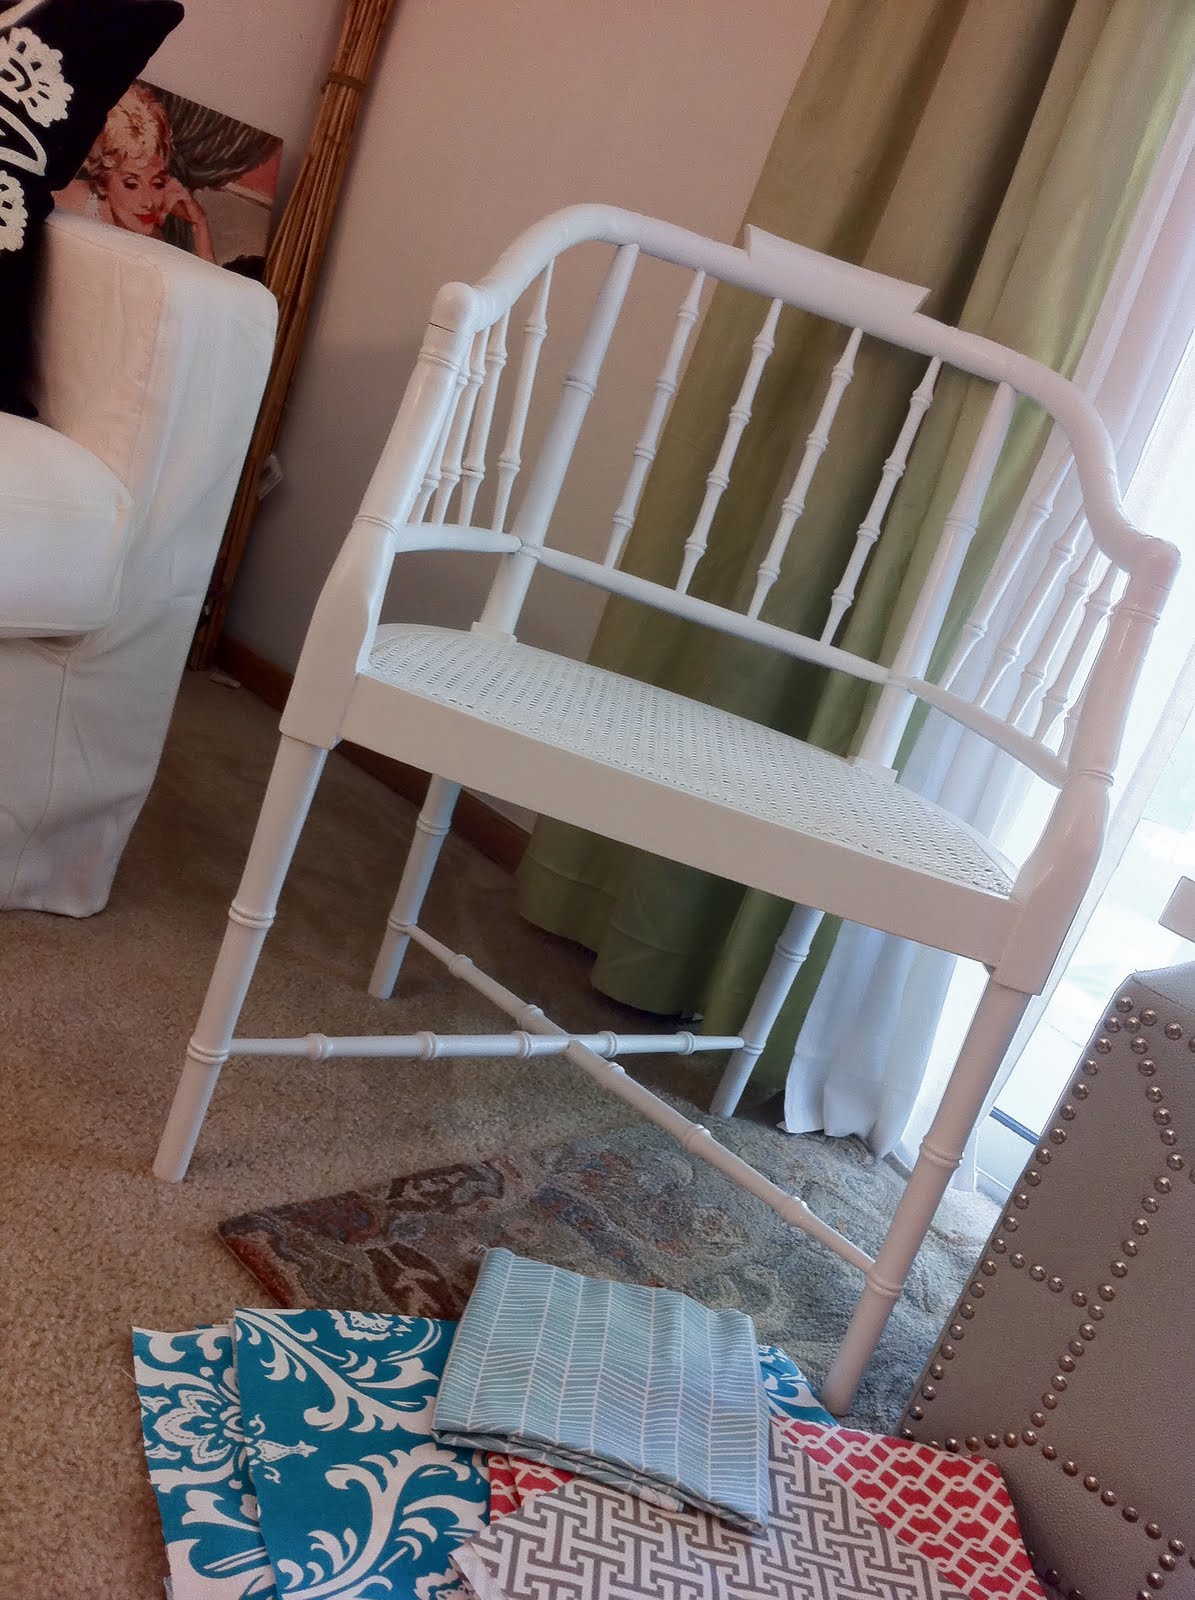
I'm so excited to see how they will look when I DIY some custom cushion for the seats!
It looks like the fabric I blogged about
here, is projected to be delivered tomorrow afternoon!
I can't wait!
Here's the break down on what I spent for this project:
Each chair - $12.50
( I spent $50 on four pieces, so each piece cost me about $12.50 )
Rustoleum Primer - three cans @ $2.88 - $9
Rustoleum Universal Spray Paint in glossy white - four cans @ $5.80 -$23
Tacky cloth -$0 - left over from a past project
Sandpaper - $0 - left over from a past project
Total Cost for each of My Glam Jonathan Adler-like chairs-
$ 28.50!!
So what do you all think?!?
Do you LOVE my bamboo chairs as much as I do?!