Thursday, March 31, 2011

La Galerie d' Ashley


Yup the Gallery of Ashley is up!  In fact it has been up for about a week, and I am so happy with how everything turned out!
This is the first time I've actually had a grouping of my work up on the wall!  I know crazy right! If you've read my blog for a little while than you know that I was an art major in college, and that I took all sorts of different classes!   In case you missed my last post about my photo wall I mentioned mixing in some photos I took and developed old school, in a darkroom.  These photos are so special to me!

OK, so now on to how I got everything up!
Usually I take the inserts out of the photos frames  and use them to figure out the placement and spacing on the wall.....
BUT.........
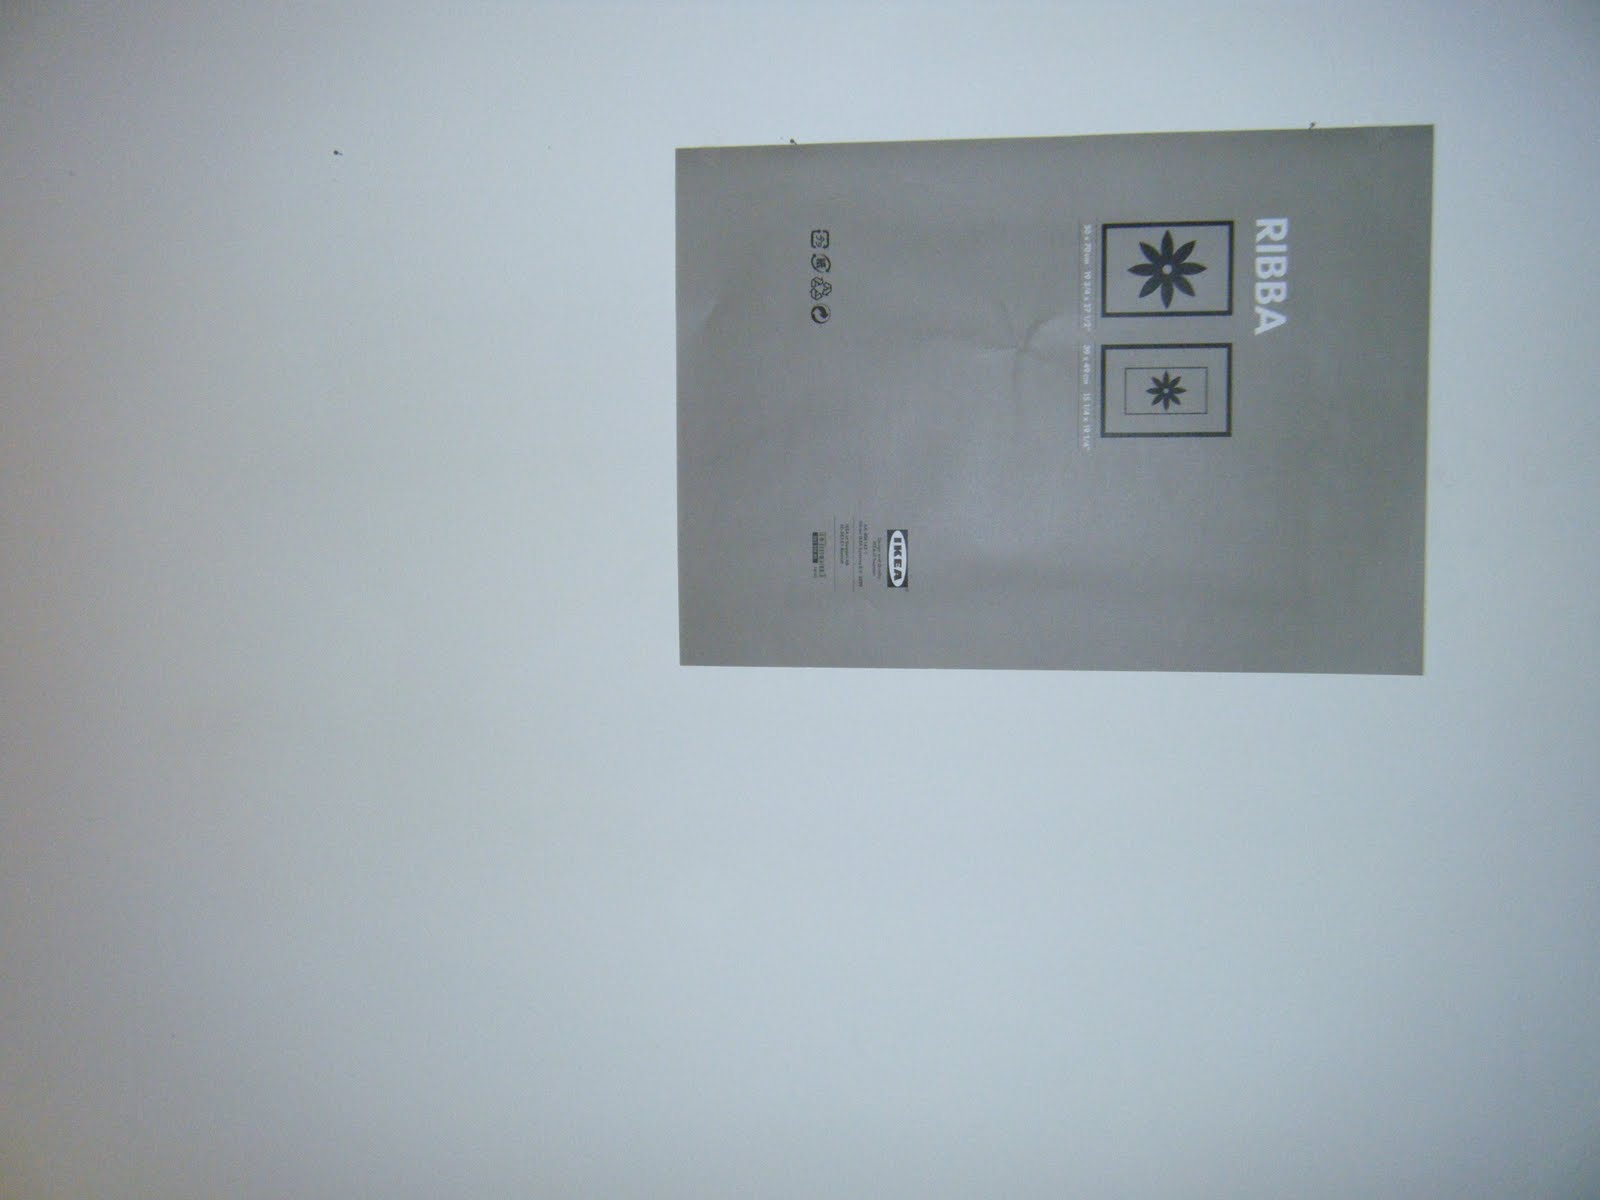
.......................... I made a mistake and threw out the rest of the inserts, so I just tape the larger one on the wall,  and used that to get the large frame placed, then added the rest of the smaller frames around it.  


It did take a little bit of trial and error, but I think everything turned out great!


I put everything up right above my new sofa, Karl, which has been my favorite addition to my living room!
There is also plenty of room for me to add more images and frames later as I find unique pieces to add.  I definitely wanted to keep everything organic  and flow-y when figuring out a lay out, so that nothing would seem out of place or unbalanced if I added another image!  I think I came up with the perfect layout for that!  

One of my favorite black and white photos I took in Hawaii, and developed in a darkroom!
I have wanted to display this for years, and this is the first time I framed it and put it up!
LOVE IT!


Here's one of my Kate Spade inspired  pieces!    Also, the black and white photo was developed by using a unique process in the darkroom, I actually had a version of this one published while I was in college! 


Do you recognize these ones? 


I'm loving how everything turned out!

Monday, March 28, 2011

Guest Post, Hyphen Interiors!


I am SOOOOO excited to have a wonderful newbie blogger guest posting today!   Have you heard of Hyphen Interiors?!?!  Well watch out for this one, she has some crazy good ideas!  I first saw this project of hers about a week ago, and I HAD to have her share it with all of my readers!
Check it out!


I was thrilled when Ashley, someone who clearly has a good handle on design, asked me to guest blog about my chair project!

Painting upholstery?!  Are you nuts?

I’ve always been the girl with the crazy ideas.  And, this time was no different.  It all started with a design plan I came up with for our neglected master bedroom.

storyboardmaster51

Knowing I couldn’t afford the particular chair that you see in the story board,  I figured I’d have to get one for cheap and re-upholster it.  I found a great wing back chair on Craigslist. 

IMG_4612 (480x640)

Without wasting any time, I called the upholsterer to get a price estimate.  He said it would cost around $400 to reupholster it which is what I had expected, but I had forgotten to add in the 7-8 yards of fabric that it would take.  So, in the end, we’re talking about $500-700 for the chair in total.  Ouch.  It wasn’t quite in my budget. 

I was sad and my husband suggested waiting.  But, I was inspired right now.  Basically, I suck at waiting.  I had to think of a way to make this happen.  

Within a few minutes, I remembered seeing a chair that was painted once!  I told my husband maybe I’ll just paint it.  He shook his head, knowing not to protest my crazy idea if it was half way sane… and let me at it.

After three coats of paint, some nail head trim, white spray paint and lots of elbow grease, the chair ended up looking like this:

IMG_4792 (457x640)


I got my chair after all!  It was the diy version, but not half bad! 

Some crazy ideas and major risks do pay off. 

Everyone always wonders this, so I’ll answer the question before it’s asked here - it doesn’t come off on clothes and is fairly comfortable – rough but not horrible.


To read more about my crazy idea that came to fruition, visit my blog for the complete how-to.

name3


Seriously can you  believe it, THAT CHAIR IS GORGEOUS!!!  I want to go steal it from her!  hehe, I won't though!  But I'm going to have to give this one a try if I ever find the right piece to work on!  Check out her blog here to stay up to date on all of her projects!

Saturday, March 26, 2011

What I'm Loving Right Now From ZGallerie!


Here are a few of my favorite ZGallerie finds right now!
Don't you just love that black and white striped cabana?!?
Can you tell I'm thinking about stuff for my living room, with all the turquoise in the mix!


I'm seriously loving the boots umbrella stand!  Josh doesn't thing we need it, but I might just have to add those boots to my apartment!  What else could I use it for?  Hmmm it would make a cute wrapping paper holder around the holidays......


Thursday, March 24, 2011

Thanks WhipperBerry!


I just wanted to say a nice big THANK YOU to the lovely ladies over at WhipperBerry for featuring my
Vintage Bathing Beauty!


THANK YOU!

Monday, March 21, 2011

It's all Greek to me!


So lately I've been loving me some Greek Key patterns!
I especially love Kristen's (from 6th Street Design School) coffee table, just check out the fresh modern lines on this thing!  Isn't it just yummy!?


That got me thinking about adding a little Greek Key something to the apartment.  Here are a few online favorites that I would love to add in a heartbeat!

This was from some designer boutique, I can only image what the price would be as I couldn't find it listed anywhere!  Most likely way, Way, WAY out of my price range!
But it sure is pretty to look at!


This Jonathan Adler piece is gorgeous, but quite pricey at $2500!


I love this chest of drawers designed by, Oscar de la Renta available through Century Furniture!!

Gorgeous!!  I may have to try to DIY this!!

Temple Coffee Table
Then I found this one!
It's  from the O, you know Overstock.com, and it certainly has that Greek Key flare!
But this one is only $140!  Yup! Super Chic Find!  I'm thinking it would look great painted white or even a fabulous poppy color like, turquoise or yellow!


Friday, March 18, 2011

Switcheroo!


I know you all have been waiting impatiently at your computers for me to finish my DIY artwork! I mean you have, haven't you?!? Haha just kidding, I know most of you probably don't obsessively stalk blogs to see when a new post has posted ......... yeah......yeah me neither.....I mean that would be weird right?
So enough of my ramblings! Now you know I am one of those blog stalkers, but I promise to keep my stalking to blogs only!

So back to the reason for the post...want to know what I've been switcheroo-ing ( yes it's totally a word!)

I'm trying to figure out the placement for my living room gallery wall!

I bought the large reproduction from Pier 1 several weeks ago, it was the inspiration for all the vintage inspired artwork I've been creating lately!


These are some of my favorite photos, they were all taken on a trip to Hawaii and developed old school....in a dark room!  No digital images here!  Don't you think they have such a great old school feel?


hmmmm....I was really stumped on the layout!


Almost there I think, but still missing something!


This is just about it!  Stay tuned to see my final layout up on the wall!


Wednesday, March 16, 2011

Buh-bye Butterfly!


As you all know I am in the process of trying to create a picture wall for the living room.
 Well I thought I had a TON of black frames to help me out with it, I buy them whenever I see  them on sale and stock pile them until I need them!  But,  it seems I goofed a little, cause when I pulled this one out of the closet it had this all over it!


Gasp!
I mean can you imagine!  I almost threw the offending frame out on the spot, how could I totally not have noticed that when I bought it!  I think I went a little crazy a while back, JoAnn's was having a frame sale and I think I was blinded by the 75% off.  After a quick glance at the other frames, it seems this is the only one that came with this extra little surprise.  Good, but now what was I going to do with it?
 I couldn't find the receipt or I definitely would have returned it!  So, it sat in the closet for a few months until I pulled it out the other day and got to thinking.   
( sorry about the blanket, I was terribly cold while I was working on this!)
First, I tried scratching it off.... but that didn't work, which I seriously couldn't believe. What was this stuff made out of??  Hmmmm, now what?  Then I pulled out one of these....

Mr. Clean® Magic Eraser® Extra Power

Yup, extra power! Then I got to work, and boy did I work, this stuff seriously did not want to come off!
But I'm stubborn and I needed the frame.  I'm trying to work with what I have people!  haha!  At least I got an arm workout!
It took about thirty minutes,  but I got the stubborn little butterfly off, thank goodness!


See totally butterfly free!
Now it's ready for me to add a picture!


Tuesday, March 15, 2011

Thanks for the feature!


My artwork has been featured on Bella Before and After!


Thanks for the feature!

Vintage Bathing Beauty


I finished another vintage inspired watercolor for my photo wall in my living room....woohoo!
It's slowly coming together, but I think I'm running out of frames!  I seem to always be buying them and never seem to have enough!  Wish Ikea wasn't so far away!
Anyway here's the latest....


LinkWithin

Related Posts Plugin for WordPress, Blogger...